

There really is something magical about composting—the way ordinary kitchen scraps and garden waste transform into rich, dark, earthy-smelling material that your plants will thrive in.
Composting isn’t just good gardening practice; it’s a small but meaningful step toward sustainability that anyone with outdoor space can take. Whatver kind of garden space you have, composting reduces waste while creating what gardeners affectionately call “black gold.”
This guide will walk you through everything you need to know to start composting and adapt it to your specific climate.
Why Compost? The Benefits Are Endless
Before we dive into the how-to, let’s talk about why composting makes so much sense:
Environmental Benefits:
- Reduces landfill waste (food scraps can account for up to 30% of household waste)
- Decreases methane emissions from landfills
- Reduces your carbon footprint
- Eliminates the need for chemical fertilisers
Garden Benefits:
- Improves soil structure and fertility
- Helps soil retain moisture
- Introduces beneficial microorganisms
- Suppresses plant diseases and pests
- Provides slow-release nutrients plants love
Economic Benefits:
- Saves money on soil amendments and fertilisers
- Reduces garden water usage
- Can lower your waste collection costs
Choosing Your Composting System
There’s no one-size-fits-all approach to composting.
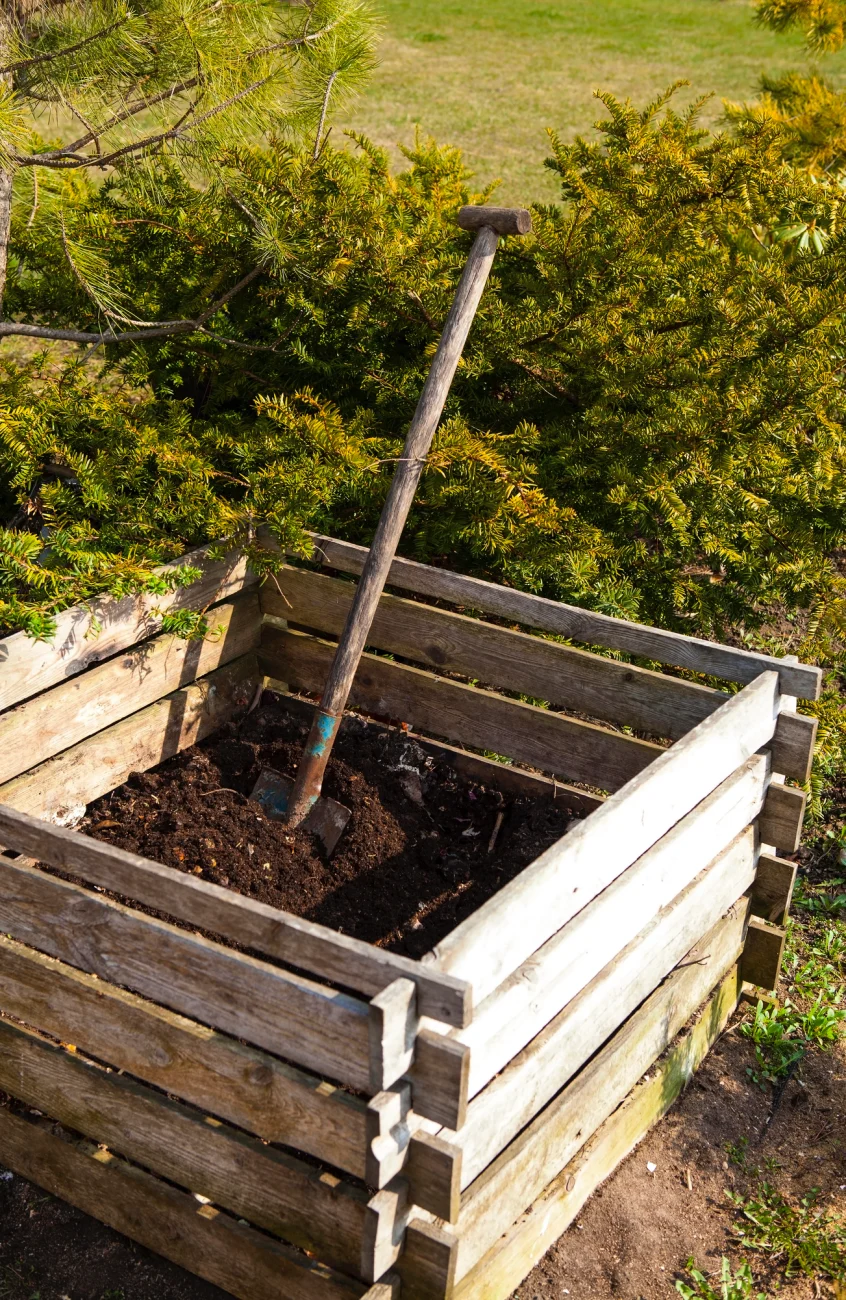
As you can see from the picture above, I have tried lots of different composting bin arrangements. What is best for you will depend largely on the space you have, you budget and the time you can dedicate to composting. We’ll go through the options below.
1. Open Heap or Pile
The simplest approach is an open pile directly on the ground.
Pros: Free, easy to turn, unlimited size
Cons: Exposed to elements, may attract pests, can look untidy
Best for: Large gardens with plenty of space and high volumes of yard waste
2. Enclosed Bins
These contain your compost within a structure, typically plastic or wood.
Pros: Neater appearance, some pest protection, retains heat and moisture

Cons: Limited capacity, can be harder to turn
Best for: Suburban gardens with moderate waste volume
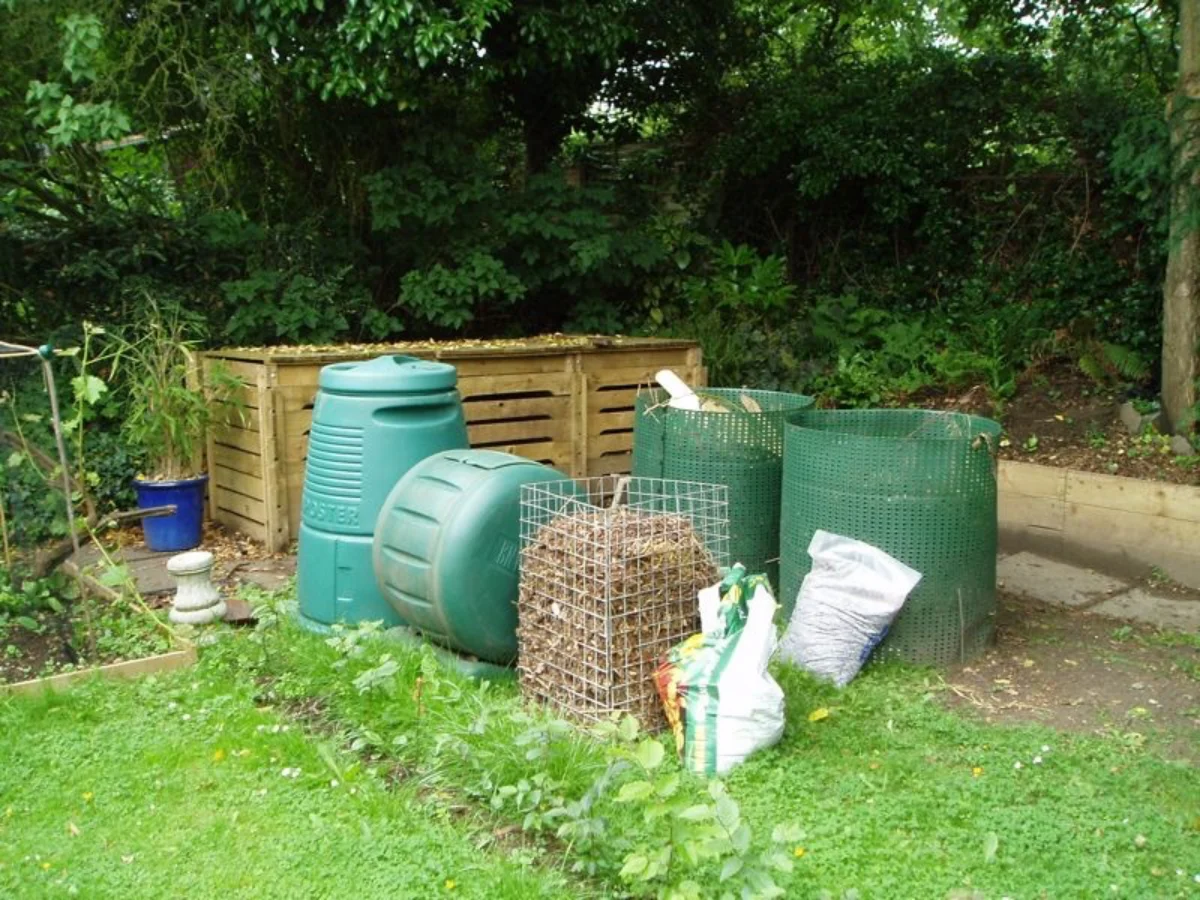
In my experience, the enclosed multi-bin system is the most effective.
This is where you have two, or preferably three, bins side by side. In this system, you have your raw waste in the first bin, your semi decomposed material in the second bin and the complete or near complete finished compost in the third bin. You then shift the material from bin to bin as the composting process progresses.
This system requires a fair amount of space and the effort of turning and moving the compost materials at the appropriate time. But, in my view, it is the best way to get an ongoing supply of compost in reasonable volumes.
3. Tumbler Systems
Sealed containers that rotate for easy mixing.
Pros: Clean, pest-proof, easy to turn, faster decomposition.
Cons: Limited capacity, more expensive, can be heavy when full.
Best for: Small spaces, households with less waste, those wanting quicker results.
Capacity is the main issue with tumbler compost bins. They cannot be very big or the effort of turning them would be too great. Therefore, whilst they can produce compost quite quickly, it doesn’t come in huge volumes.
That said, they are good when you don’t have much space. I originally bought the round tumbler bin in teh picture above when I had a small urban garden and it did prove useful then.
4. Worm Bins (Vermicomposting)
Uses worms to break down kitchen scraps.
Pros: Works indoors, produces rich castings, good for kitchen waste.
Cons: Limited capacity, requires worm management, not suitable for all waste types.
Best for: Apartments, households with limited outdoor space, primarily kitchen waste.
I tried vermicomposting, but it is not something I stuck with. It is fascinating and worth doing, but it is very hard to get the balance of materials in the bin correct. If you don’t, you get a slimy mess that the worms won’t process. So you need patience and precision – not my strongest qualities, I’m afraid.
I think the secret with worm composting is not to expect it to deal with all your food scraps. You can only process so much at one time. So it is best to have another composting system as well as your worm composting bin.

5. Bokashi Fermentation
Anaerobic fermentation system using specific microorganisms.
Pros: Can process all food waste including meat and dairy, compact, no odor.
Cons: Two-stage process, requires purchase of bokashi bran, produces acidic pre-compost
Best for: Small spaces, those wanting to compost all food waste.
I have never tried Bokashi, so can’t comment on this method directly. However, its great advantage is that it can process all types of food waste. Its biggest disadvantage is that, on a domestic scale, it only produces limited amounts of material and that material then has to be further composted aerobically to be fully broken down.
If you are interested in exploring Bokashi more, there is a useful article here.
Getting Started: The Basics of Composting

Location, Location, Location
Choose a spot that is:
- Convenient to access year-round
- At least partially shaded (full sun dries out the pile)
- Well-drained (not in a depression that collects water)
- On bare soil rather than concrete (allows worms and microbes to enter)
- Considerate of neighbours (not directly adjacent to their living areas).
The Compost Recipe: Balancing Greens and Browns
Successful composting depends on maintaining the right balance of materials in your bin. Materials can be conveniently be divided into greens and browns. Greens are materials that are rich in nitrogen, browns are materials that are rich in carbon.
The Ideal Ratio: Aim for roughly 3-4 parts browns to 1 part greens by volume. Too many greens creates a smelly, wet pile; too many browns and decomposition slows to a crawl.
Greens (Nitrogen-Rich Materials):
- Fruit and vegetable scraps
- Coffee grounds and filters
- Fresh grass clippings
- Tea bags (remove staples)
- Young weeds (without seeds)
- Plant trimmings
- Herbivore animal manure (horses, cows, rabbits, chickens)

Browns (Carbon-Rich Materials):
- Dry leaves
- Straw and hay
- Shredded newspaper and cardboard
- Egg cartons
- Toilet and paper towel rolls
- Woody prunings
- Sawdust (from untreated wood)
- Pine needles (in limited quantities)

What to Avoid
Keep these materials out of your compost:
- Meat, fish, and dairy products (attract pests)
- Diseased plants
- Perennial weeds or weeds gone to seed
- Dog or cat waste
- Glossy or coated paper
- Coal or charcoal ash
- Citrus peels and onions in worm bins
- Bread and cooked foods (pest magnets)

Building Your Compost Pile
To start an effective composting process, just follow these steps
- Start with structure: Add a 4-6 inch layer of coarse browns like twigs or chopped brush. This creates air pockets at the bottom.
- Layer thoughtfully: Alternate layers of browns and greens, making brown layers thicker.
- Size matters: Smaller pieces decompose faster. Aim to chop or shred materials into pieces no larger than 2 inches.
- Add moisture: Your compost should feel like a wrung-out sponge—damp but not soggy. Water as needed.
- Consider a compost activator: A handful of garden soil, finished compost, or a commercial activator introduces helpful microorganisms.
- Turn regularly: Every 2-4 weeks, use a garden fork to mix the materials. This adds oxygen and speeds decomposition.
Regional Adaptations: UK vs. US Composting
UK Climate Considerations (Cool, Damp Winters)
In the UK’s generally cool, wet climate:
- Protect from excessive rain: Consider a covered bin or tarp to prevent waterlogging.
- Insulate during winter: Surround bins with straw bales or bubble wrap to maintain heat.
- Add more browns: The naturally damp climate means you’ll typically need extra carbon-rich materials.
- Consider location carefully: North-facing locations will slow winter decomposition dramatically.
- Hot composting techniques: Using insulated bins and specific layering can generate enough heat to continue composting through winter.
US Regional Adaptations
Northeast and Midwest:
- Similar to UK recommendations
- Snow cover provides natural insulation
- Consider fully enclosed bins to deter wildlife
Southeast and Gulf Coast:
- High heat and humidity accelerate decomposition
- Shade is crucial to prevent drying out
- May need more frequent watering in summer
- Turn more often to prevent anaerobic conditions
Southwest and California:
- Drought conditions require careful moisture management
- Cover to retain moisture
- May need regular watering
- Consider semi-subterranean systems to maintain moisture
Pacific Northwest:
- Similar to UK conditions
- Protection from excessive rainfall important
- Consider a three-bin system for efficient management

Troubleshooting Common Issues
These are the most common issues that arise when you are composting
Smelly Compost Pile:
- Too wet or compacted: Add browns, turn pile
- Too many greens: Add more browns, turn pile
Pile Not Heating Up:
- Too small: Add more materials (minimum ideal volume is 3’×3’×3′ (1m x 1m x 1m for heat)
- Too dry: Add water when turning
- Not enough greens: Add nitrogen-rich materials
- Cold weather: Insulate or wait for warmer temperatures
Pests in the Pile:
- Meat/dairy present: Remove inappropriate items
- Food waste exposed: Cover with browns or soil
- Pile against structure: Move away from buildings
When Is Compost Ready?
Finished compost is dark brown, crumbly, and smells earthy—like fresh forest soil. No individual ingredients should be recognizable, and it should be cool to the touch. Depending on conditions and management, this can take anywhere from 3 months to a year.

Using Your “Black Gold”
Your finished compost is absolute garden magic as detailed below. It is the best form of organic matter that you can add to your soil to improve its structure and fertility. In summary, it can be used in numerous ways:
- Mix into garden soil before planting
- Use as a topdressing around established plants
- Add to potting mixes (about 20% compost)
- Make compost tea for liquid fertilizer
- Use as a light mulch around plants.
How Compost Transforms Soil Structure
Compost works wonders for soil structure regardless of your native soil type. When added to clay soils, compost prevents compaction by creating space between tightly packed particles, improving drainage and allowing roots to penetrate more easily. The organic matter acts like tiny sponges, creating micropores that hold water without becoming waterlogged.
In sandy soils, compost does the opposite—it helps bind loose particles together, increasing water retention so moisture doesn’t drain away too quickly. This structural improvement is long-lasting, as compost continues to break down slowly, providing ongoing soil conditioning that chemical fertilisers simply cannot match.
The Living Benefits: Compost and Soil Biology
Unlike synthetic fertilisers, compost introduces millions of beneficial microorganisms into your soil, creating a vibrant soil food web.
These microbes—bacteria, fungi, protozoa, and nematodes—perform countless essential functions: they break down organic matter into plant-available nutrients, compete with pathogenic organisms that cause disease, form symbiotic relationships with plant roots, and create glue-like substances that improve soil aggregation (therefore preventing erosion).
Mycorrhizal fungi, which thrive in compost-rich environments, effectively extend plant root systems by up to 700%, dramatically increasing their ability to access water and nutrients. A single teaspoon of high-quality compost can contain more microorganisms than there are people on Earth—all working to benefit your garden.
Plant Growth and Resilience Through Compost
Plants grown in compost-enriched soil show remarkable improvements in both growth and health. The slow-release nature of compost’s nutrients provides a steady supply that matches plants’ needs without the feast-or-famine cycle caused by chemical fertilisers. This results in stronger cell development, more robust root systems, and improved flowering and fruiting.
Perhaps most importantly, compost helps plants become more resilient to stress—whether from drought, disease, or pests. Research shows that plants in compost-rich soils produce more complex protective compounds and demonstrate improved immune-like responses to pathogens.
During environmental stress like drought or temperature extremes, these plants show greater survival rates and recovery ability, making compost not just a fertiliser but a form of garden insurance against increasingly unpredictable weather patterns.
Conclusion
Composting connects us to natural cycles, turning what might be waste into a resource. Start small, experiment with what works in your space and climate, and soon you’ll be creating your own nutrient-rich soil amendment while reducing your environmental impact. Your garden—and the planet—will thank you for it.
Other Garden Soil Resources

Martin Cole has been an avid plant lover and gardener for more than 20 years and loves to talk and write about gardening. In 2006 he was a finalist in the BBC Gardener of the Year competition. He is a member of the National dahlia Society.
He previously lived in London and Sydney, Australia, where he took a diploma course in Horticultural studies and is now based in North Berwick in Scotland. He founded GardeningStepbyStep.com in 2012. The website is aimed at everybody who loves plants or has been bitten by the gardening bug and wants to know more.
Gardening Step by Step has been cited by Thompson and Morgan, the UK’s largest mail order plant retailer, as a website that publishes expert gardening content.